.NET Core is great for cross-platform app development. Unfortunately, the compatibility with multiple platforms was achieved primarily by excluding any components that are specific to Windows OS that it’s predecessor, .NET Framework was built for.
This is why, out of the box, .NET Core can only be used to build command line applications with no GUI and, with addition of ASP.NET packages, web application with nothing more than a standard functionality.
So, how can one build a .NET Core desktop application with GUI? Fortunately, the framework is extendable and the extendability goes above and beyond simply relying on NuGet packages.
Any common software functionality that isn’t yet available in .NET Core is available via a more mature cross-platform software-building technology: Node.js. And the good news is that two frameworks can inter-operate easily.
In my previous article, I talked about how to play audio in .NET Core by using one of its standard libraries, NodeServices. In this article, I will talk about utilizing Node.js from within a .NET Core app to build a desktop application with GUI. However, this time, the methodology is somewhat different.
You can build a GUI app in Node.js
Node.js is often referred to as server-side JavaScript. Although this statement is true, it only partially describes what Node.js does. More accurate description of the technology would be “JavaScript everywhere”.
Indeed, Node.js can be used to build client-side apps. And, with aid of various frameworks, such as Electron, it can be used to build a native GUI app on any operating system.
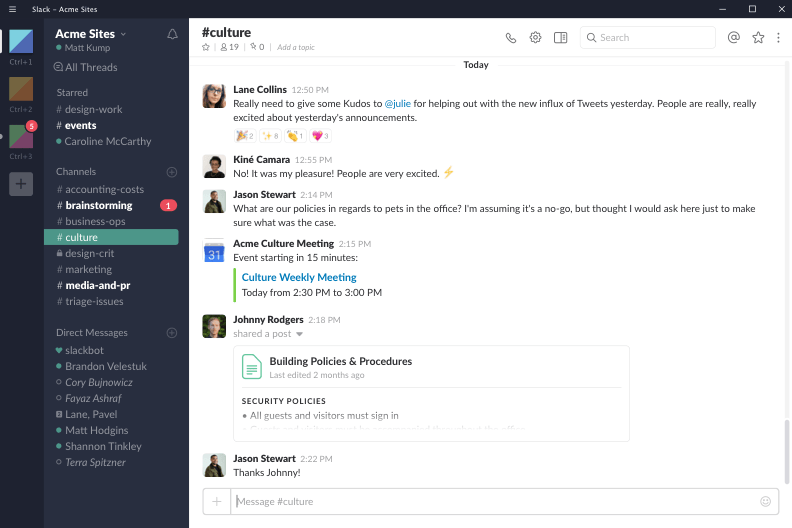
And desktop GUI apps based on Node.js and Electron are widespread. If you are familiar with Slack, an instant messaging platform, it’s desktop client is an Electron app.
Here is how you can build a simple, but nonetheless useful, desktop app by using Electron. So, to avoid doing yet another “Hello World!” app, let’s build a calculator.
It goes without saying that you need to install Node.js and get NPM enabled during the installation process. Once this step is done, you will need to create a directory for your project by running the following command inside the directory:
npm init
You can use default values for your project when prompted to modify them. This will create the basic structure for a fresh Node application with all the necessary files.
Next, you will need to install Electron as a development dependency by running the command below within the root folder of your project. If you want to know what the difference between dependencies and devDependencies is within your Node application, Dylan Avery explains it well in his blog post.
npm install –save-dev electron
Electron is not merely a library within Node. It is a framework of its own with separate runtime and processes. Therefore, it would not be easy just to launch Electron app from .NET Core code by using NodeServices mentioned previously. This is also why your package.json file needs to be modified as follows:
"scripts": {
  "start": "electron ."
},
If “start” element doesn’t exist, one needs to be created. A standard Node application doesn’t strictly require it.
Next, we will create a JavaScript file that will be used to open the GUI window. We will give the file the same name as specified under “main” attribute of package.json file. For the purpose of this example, let’s assume that it’s called index.js.
const {app, BrowserWindow}= require('electron')

function createWindow() {
   win = new BrowserWindow({width: 300, height: 300})
  win.loadFile('index.html')
},
app.on('ready', createWindow)
Next, we will create the HTML markup for calculator GUI. In order to do this, we will create index.html file, into which you can copy any markup of HTML-based calculator application. I used the one from Emmanuel Ndubuisi’s article. The markup is right at the bottom of the article. It is a great example of a calculator GUI.
The rest of the steps are exactly the same as they are with any standard Node.js app. You wold run “npm install” to download all the packages outlined in package.json file and “npm start” to start the actual application.
The full sample code is available in this GitHub repository, which you are free to use as you please.
Introducing Electron.NET
Node.js and Electron are more than adequate on their own for building native GUI apps. And there are plenty of free training resources available to get you started.
However, if you are primarily a .NET developer, especially someone who has previously specialized in desktop applications on .NET Framework, you may want to avoid learning yet another technology, unless you absolutely have to.
The good news is that there is a way of using Electron in your .NET Core application without having to know JavaScript. You can still write your desktop app by almost exclusively relying on compiled .NET languages that you are accustomed to. There is a NuGet package for that. It’s called Electron.NET.
In order to build an electron app on .NET Core, you will first need to create a basic ASP.NET Core MVC app by either using standard Visual Studio wizard, or “dotnet new mvc” command. C# language examples will be used below. If you prefer to use any other .NET languages, you will need to adjust the instruction accordingly.
Next, you will need to add NuGet reference to the latest version of ElectronNET.API package. You can do so either by running the following command, or simply modifying your project file.
Install-Package ElectronNET.API
The NuGet package depends on dotnet client tool extension called ElectronNET.CLI. The extension will be needed later to build and run the app. Therefore, the following block needs to be added to the project file (.csproj if you are using C#):
<ItemGroup>
  <DotNetCliToolReference Include="ElectronNET.CLI" Version="*" />
</ItemGroup>
You will then need to modify Program.cs file. The code used to create WebHost builder should look like the following:
WebHost.CreateDefaultBuilder(args)
  .UseElectron(args)
  .UseStartup();
Finally, the following method needs to be added to the Startup class:
public async void Bootstrap()
{
  var options = new BrowserWindowOptions
  {
    WebPreferences = new WebPreferences
    {
      WebSecurity = false
    }
  };
  await Electron.WindowManager.CreateWindowAsync(options);
}
The call to Bootstrap() method needs to be placed right at the end of Configure() method of the Startup class
We are now ready to build and run the app. Before we do so, we need to run the following command to ensure that the custom dotnet command extension is available:
dotnet restore
After this, you will need to run the following command to build the application:
dotnet electronize init
Finally, the following command will launch the application:
dotnet electronize start
You can get the full sample of the code from this GitHub repository. Also, if you want to build something more exciting than just a bog-standard MVC app that launches itself in a window rather than in a browser, this article by Gregor Biswanger will show you how to build a music player.
Happy hacking!