As the author of NetCoreAudio, a .NET library that is designed to play audio on Windows, Mac OS, and Linux, I need to have all three operating systems available for testing. The simplest and cheapest way to set up multiple operating systems is to use virtual machines (VMs).
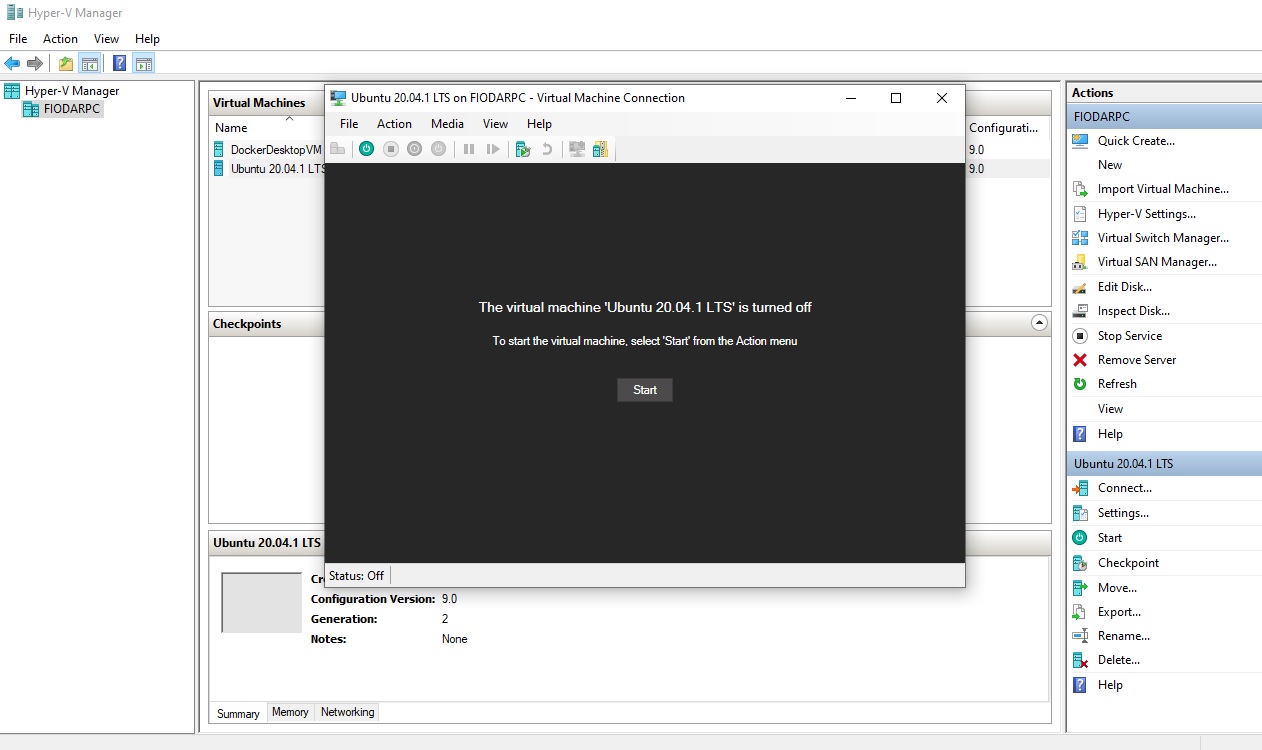
My main PC is running Windows, which, if you are using the Professional license, comes with a hardware virtualization system called Hyper-V. So I have used this to set up my Ubuntu VM.
Unfortunately, getting it to play audio was a lot harder than I expected. No matter what I did, I couldn’t get the audio sink configured correctly. I have ensured that I was connecting to my VM in an enhanced session. I’ve made sure that the audio capabilities of the host machine are shared with the VM. And I have verified that all necessary xRDP components were installed on the VM.
I went through article after article after article on the web. None of the suggestions worked. No matter what I did, I just couldn’t see anything other than “Dummy Output” as the output sink in my audio settings on the Ubuntu VM and I could play no audio.
That was until I found this thread on Reddit. The solution was so simple and it worked perfectly. I didn’t even have to restart my VM to get the audio to work. It just started working as soon as I executed a bunch of commands in the Terminal.
Although the Reddit thread has provided a good solution, it has some key steps missing, so it may not be properly understood by less experienced people. So, here are all the steps:
Step-by-step setup guide
1. Download ffmpeg on Windows
ffmpeg is the utility that we will be using on both the host machine and the VM. The simplest way to download it for Windows is to go to the downloads page and choose the package to download.
On that page, you will be greeted by multiple download links. I have personally chosen the link pointing at “Windows builds by BtbN”, as this was the easiest one to work with. Once on the page, you will simply need to click on a link to a ZIP archive to download.
As a rule of thumb, choose a build that doesn’t have “shared” in the name, as those seem to depend on other components that won’t necessarily be present on your system. Personally, I have chosen “ffmpeg-N-100029-g040e989223-win64-gpl.zip”.
Once the content of the archive has been extracted, you may choose to add its “bin” folder to the PATH variable.
2. Launch ffplay listener
Once the ffmpeg archive has been downloaded and unpacked, you can open any command line terminal in the “bin” folder and execute the following command:
ffplay -nodisp -ac 2 -acodec pcm_s16le -ar 48000 -analyzeduration 0 -probesize 32 -f s16le -i udp://0.0.0.0:18181?listen=1
If there were no errors during the execution of the command, you will now have your ffplay listener set up, ready to receive UDP requests on any local IP address on port 18181.
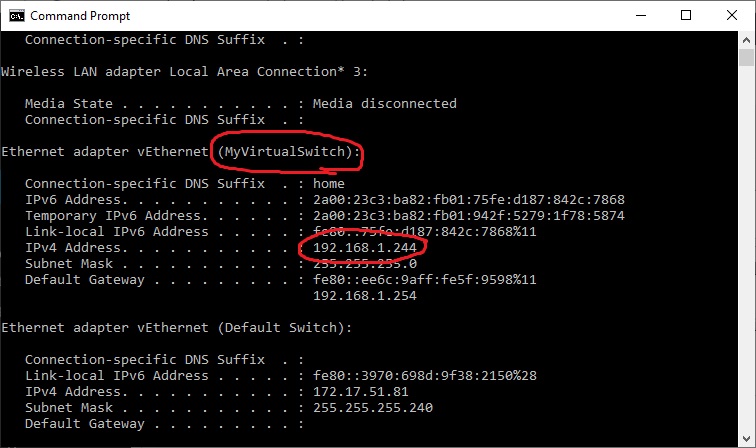
3. Get the IP address of your virtual network switch
To enable your VM to access the network that the host machine is connected to, you will need to set up a virtual switch. I have called mine “MyVirtualSwitch”.

If you can connect to the internet from your VM, then you know that your virtual switch is working correctly. If so, we will need to find its IP address.
To do so, open a new command line terminal window (don’t close the existing one) and execute the following command:
ipconfig
In the output, locate the section with the same name as you have given to your virtual switch and note down the IPv4 address. We will need it for later.
4. Download ffmpeg on the VM
There are several different ways of installing ffmpeg on Ubuntu. By far, the simplest one is as follows:
Update your package list by running the following command:
sudo apt update
Install the latest version of ffmpeg by running the following command:
sudo apt install ffmpeg
Check that the version has been installed successfully by running the following command:
ffmpeg -version
5. Redirecting VM audio to the ffplay sink
Now, once ffmpeg has been installed on your Ubuntu VM and ffplay listener is running on your host machine, run the following command to add a new audio sink to Pulseaudio:
pactl load-module module-null-sink sink_name=remote
After this, launch the following command to send all the audio from your VM to the listener that is running on your host machine, replacing “IP.OF.YOUR.WINDOWS” with the IP address we have obtained in step 3:
ffmpeg -f pulse -i "remote.monitor" -ac 2 -acodec pcm_s16le -ar 48000 -f s16le "udp://IP.OF.YOUR.WINDOWS:18181"
That’s it. You are done. Assuming none of the commands returned any errors, you should now be able to hear the audio coming from your VM.
Wrapping up
The good news is that this solution is guaranteed to work on any other version of Linux running inside a VM, as long as you have Pulseaudio installed on it, and on any other hardware virtualization software. So, if you having trouble getting audio to work on a Fedora VM running on VirtualBox, this solution will work for you too.
And you don’t even have to run your VM connection in an enhanced session. You are not sharing any audio capabilities between your VM and the host machine. Instead, you are setting up a listener on an IP address that is accessible to your VM via a shared network switch.
Happy hacking!